Mac Installation
Windows Installation
Activating Your License
Updating
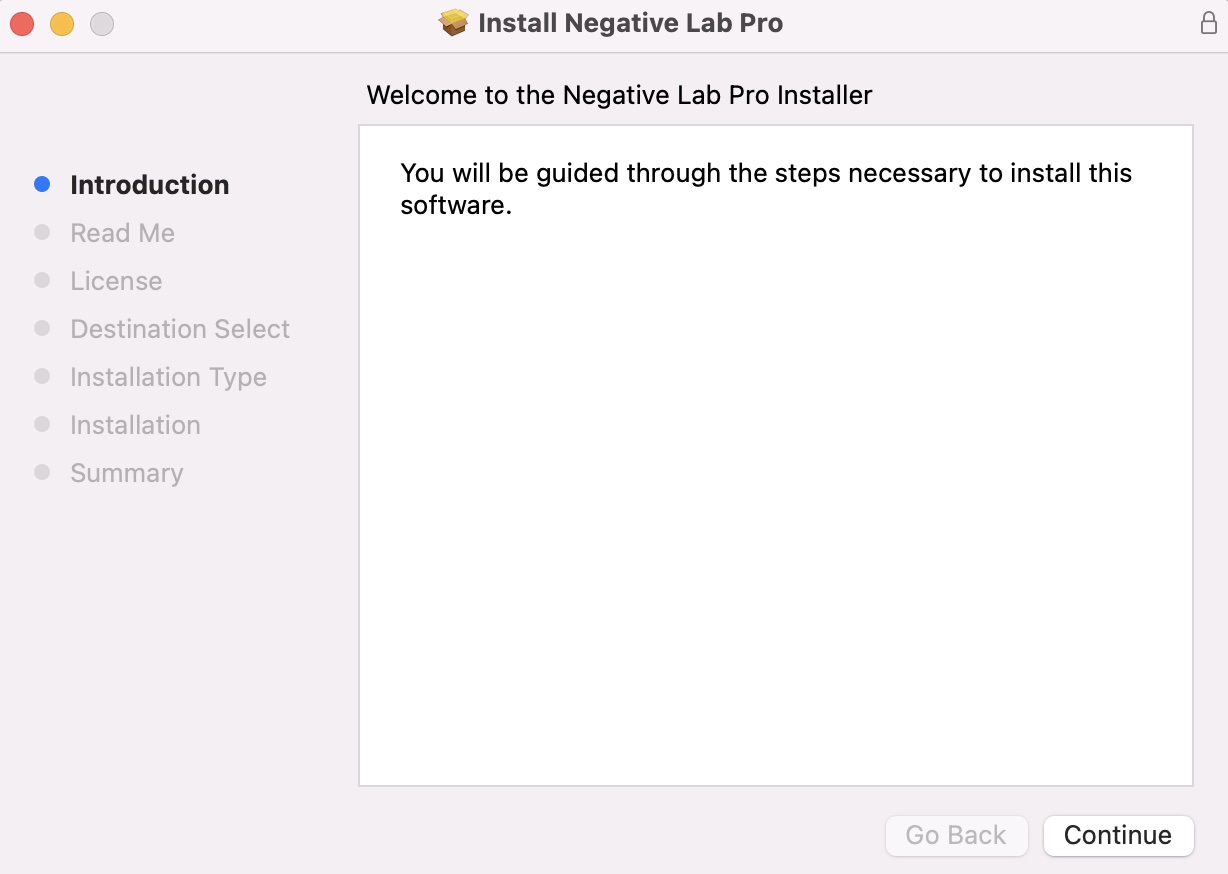
Mac Installation
On Mac, simply run the included installer and follow the instructions.
Installation notes:
- Lightroom Classic or Lightroom 6 (historic) must be installed prior to running the installer.
- Mac users with M1 or M2 must have Rosetta installed on their system, or they will receive an error when they try to use Negative Lab Pro. If Rosetta is not installed, you can install it by opening up the “Terminal” app (found in Applications/Utilities), then copy/pasting the following command into the terminal and hitting “enter”:
/usr/sbin/softwareupdate --install-rosetta --agree-to-license - If you receive an error that the package is corrupted, please try downloading again using a different web browser
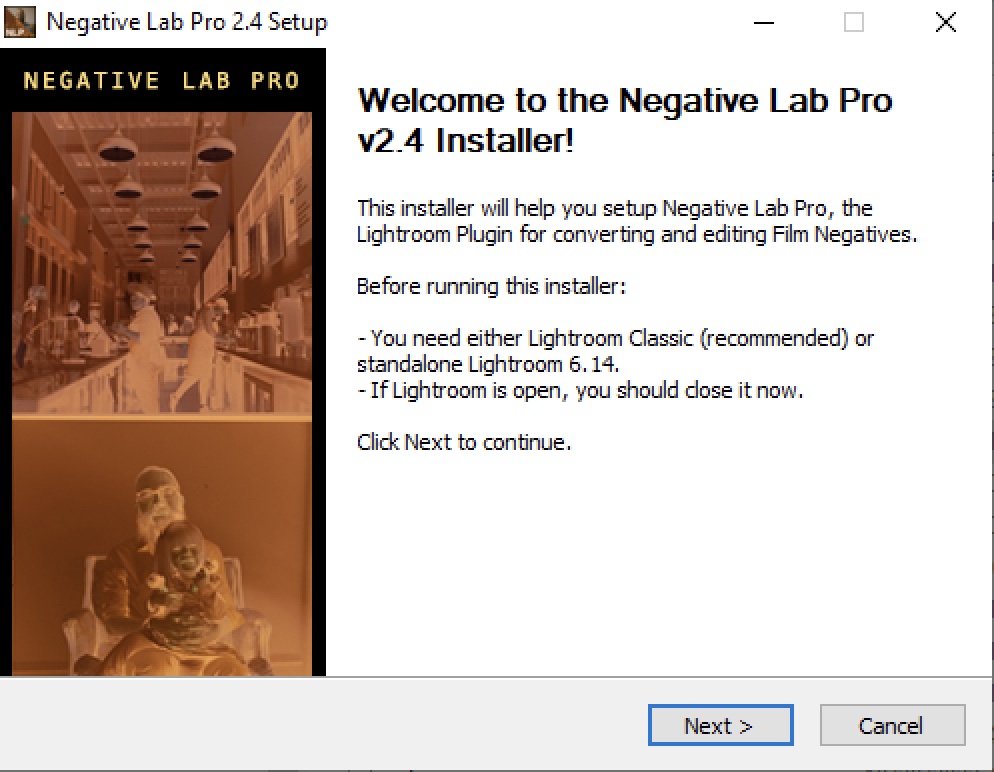
Windows Installation
On Windows, simply run the included installer and follow the instructions.
Installation notes:
- Lightroom Classic or Lightroom 6 (historic) must be installed prior to running the installer.
- If you get a notification that “Windows Protected Your PC”, click “More Info”, then “Run Anyway”. The installer includes my certified developer signature, but you may still see Windows Defender throw a little fit (thanks Windows).
Windows HOTKEY Installation
The Windows hotkey should be installed automatically when you run the installer. The hotkey must be actively running for it to work, so be sure at the end of the installation, to leave the option checked to “Start Running the Hotkey,” and hit “finish”. If you don’t have that selected when you hit finish, it will begin running automatically the next time you restart your system.
WINDOWS HOTKEYS BY LANGUAGE:
English: Ctrl - Alt - N
German: Ctrl - Alt - P
Swedish - Ctrl - Alt - N
Netherlands: Alt + N
French: Ctrl + Alt + X
Italian: Alt + Shift + X
Portugese - Alt + X
Spanish - Alt + X
CUSTOMIZING THE WINDOWS HOTKEY
If you’d like to change the hotkey (or add to an existing AutoHotKey setup), you can download the hotkey script here. Even if you are new to AutoHotKey, it is possible to customize the script to meet your needs.
- Download and install AutoHotKey free from https://www.autohotkey.com/
- Right-click on the “NegativeLabHotkey.ahk” file, and choose to open with NotePad
- Inside the ahk file are further instructions for how to edit to meet your needs
Activating Your License
If you’ve purchased a license for Negative Lab Pro, you can now activate it to unlock full use of Negative Lab Pro.
Here’s how to activate your license:
- Make sure you are connected to the Internet
- In Lightroom, go to File > Plug-in Manager
- Copy the licence from your receipt email, and add it to the field beside the key symbol ()
- Then hit the ACTIVATE button.
- You should then see a confirmation that the key has been accepted!
Troubleshooting License Keys:
“I can’t find my license”
Follow these instructions to find your license key.
“I can’t submit my license”
If the license is red and can’t be submitted, this usually means that you are trying to use a v2 license to activate v3, which will not work. If you’ve already purchased v3, make sure to use your v3 license for activation. Otherwise, you can either download v2.4.2 (Mac link, Windows link), or you can upgrade to v3 here.
“Out of Uses”
There is a limit to the number of times NLP can be activated to protect from theft.
If you are on v3, you can resolve this error yourself by remotely deactivating your past license activations here. Just enter the email address associated with your purchase, and it should let you see any order information associated with your order, including any previous license activations you made. Just click “deactivate” and it will remotely remove that activation from the old computer.
If you get this error while using v2, please email at nate@natephotographic.com so I can restore your license.
“404 Error during activation”
Check and make sure that you are copy/pasting directly from your email receipt, and make sure there are no extra spaces at the end of your license.
Could Not Connect to the Internet
Make sure you are connected to the internet and any firewalls or internet blocking apps (like LittleSnitch) are turned off. In some countries (like China), you will need to use a VPN to activate because China blocks traffic to the authentication server.
License reverts back to trial
In some cases, the license may get dropped from your system. Not to worry! Just restart your computer, then go to “file > plugin manager” and re-enter/resubmit your license.
Updating
To update an existing installation of Negative Lab Pro, simply close Lightroom and run the new installer.